Assembly of 2-part Granite Upright Grave Markers
Assembly of 2-part granite upright grave markers
You must read the instructions entirely BEFORE moving to Step 1.
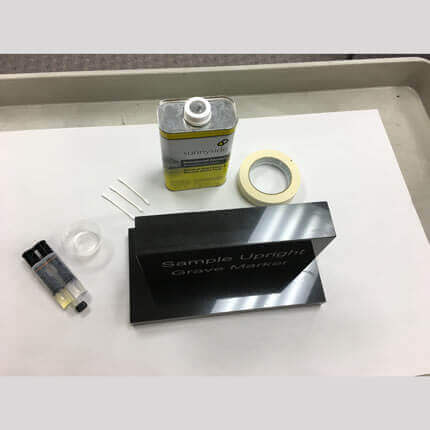
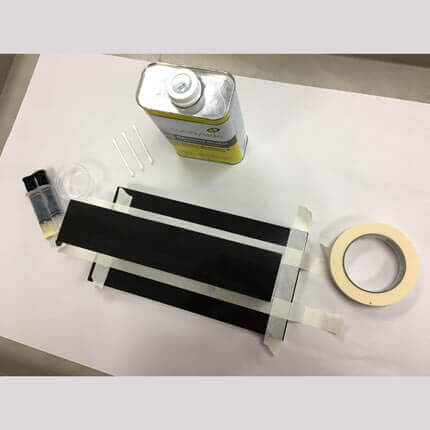
Step 1. Preparation and Materials
Be sure to work on a clean, FLAT surface in a ventilated area. You will need the following items:
- 1 tube of 2-part epoxy made for outdoor use and -10 degree weather
- 1 Dixie cup or other disposable mixing cup to mix epoxy
- 4 Q-tips
- 6 paper towels
- alcohol or mineral spirits or acetone
- masking tape

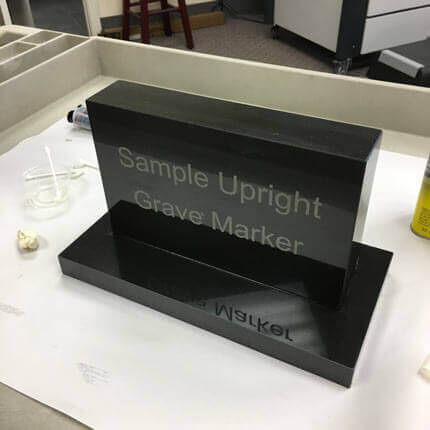
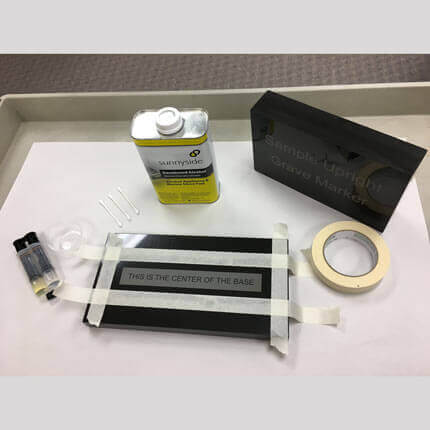
Step 2. Set the marker on the base
Gently place the upright marker on the center of the rectangular granite base. Make sure it is exactly where you want it. It is best to measure to ensure it is centered.
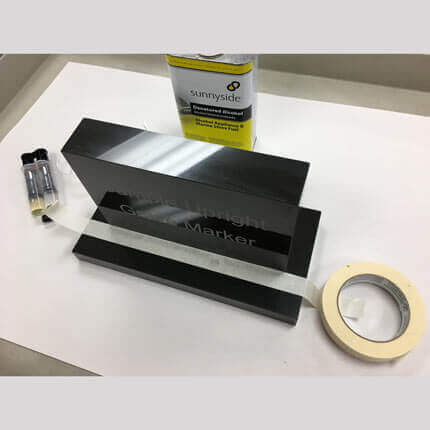
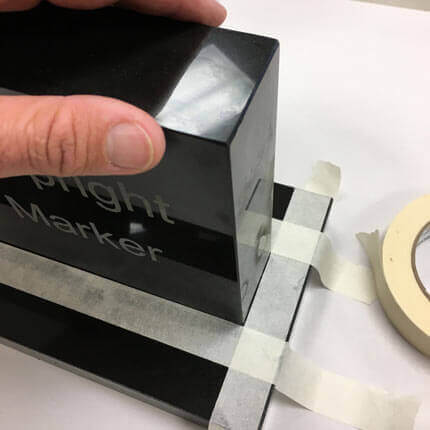
Step 3. Marking the marker placement on the granite base with masking tape
Place masking tape on the base along each side of the marker. This will mark the area to apply the epoxy. Remove the marker from the base.
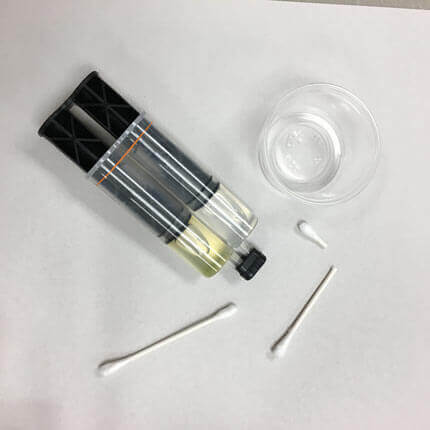
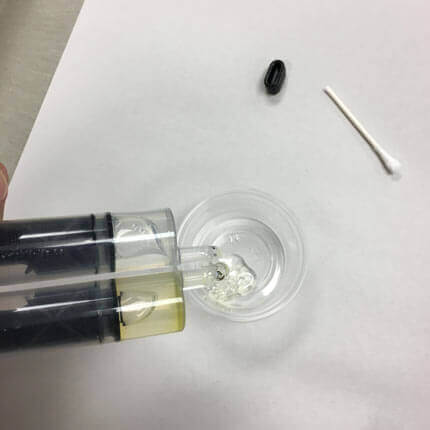
Step 4. Mixing the epoxy
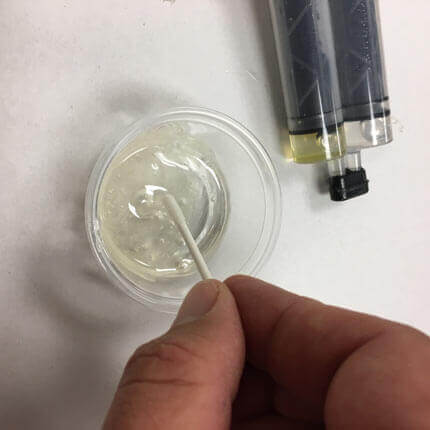
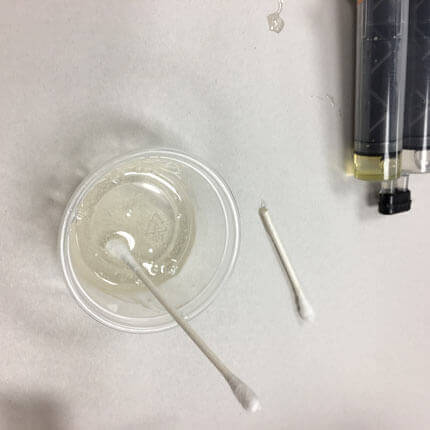
Squeeze equal amounts (about 1/3 of the tube) of the epoxy parts into the provided mixing cup (each part will exit the syringe in equal amounts). Use a Q-tip end WITH COTTON REMOVED, or with tip cut off, to mix the epoxy. Stir and mix well for 60 seconds.
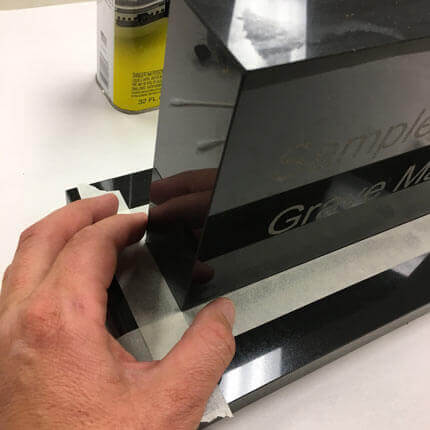
Step 5. Applying the epoxy to the granite base
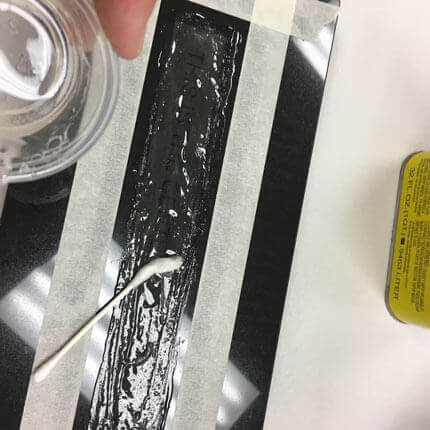
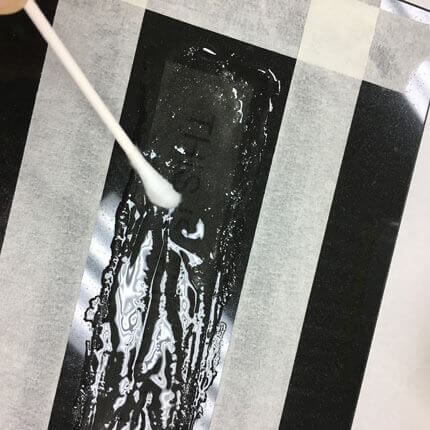
Using a new Q-tip (with cotton ends) apply a THIN layer of the mixed epoxy to the rectangular base, staying about 1/8” - 1/4” INSIDE the masking tape as shown.
Staying inside the masking tape edge with the epoxy will make cleanup a lot easier. If you use a lot cleanup will take longer.
If the end of your Q-tip begins to break apart, or stretch out, discard and use another. You may need to use 2-3 to adequately paint the epoxy on.

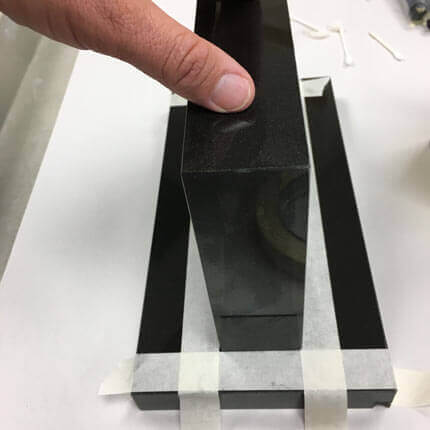
Step 6. Placing the marker back onto the base
Gently place the marker on the center of the rectangular granite base, inside the masking tape lines you previously made. A small amount of epoxy may squeeze out. (that is ok, it dries clear)
Hold the top in place for 30 seconds or so and let go. The top may shift a tiny bit. Just gently slide it back into place and hold for a few seconds. REPEAT THIS UNTIL IT NO LONGER MOVES. This process takes about 2-4 minutes.
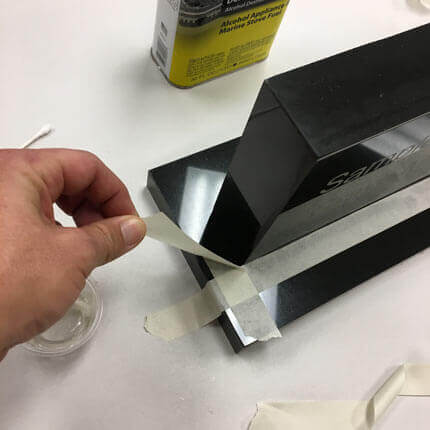
Step 7. Removing the tape
When the marker is no longer freely moving on the base and the epoxy is still tacky (about 4-6 minutes after setting the marker), slowly remove the masking tape.
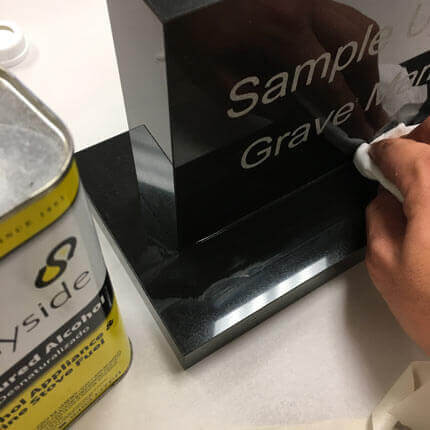
Step 8. Cleanup
There will likely be a thin, clear bead of epoxy around the marker where it meets the base. (less or more depending on how thin you applied the epoxy in step 5). Dampen a paper towel with the solvent (alcohol or mineral spirits or acetone) and wipe along the seam to remove any excess epoxy.